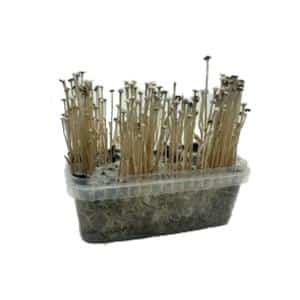
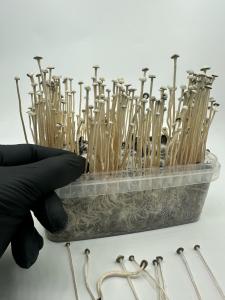
The Copelandia Madagascar Mushroom Grow Kit is one for the true enthusiast. This particular species is known for a striking growth pattern: the first flush often emerges at the edges of the container, while later flushes spread toward the center. The result? A dense, upward-growing “jungle” of mushrooms – an impressive sight as well as a nice yield.
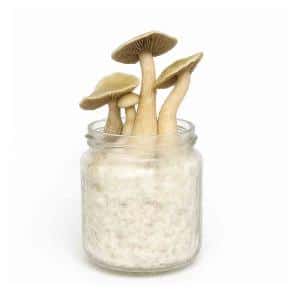
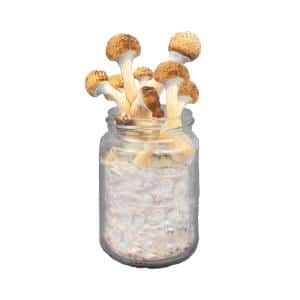
This variety originates in Madagascar’s tropical climate. Thanks to the rich soil and the presence of livestock, this environment created the perfect conditions for the emergence of this potent psilocybin mushroom. The name “Madagascar” refers to a specific genetic lineage evolved from wild mushrooms of the island. Meanwhile, this strain is grown for its compact growth habit and strong effects.
Compared to the well-known Psilocybe cubensis, Copelandia Madagascar contains up to three times more active substances (such as psilocin and psilocybin) per gram. That means: a lower dose is already sufficient for a profound experience. Ideal for advanced users who want to travel consciously.
Features
- Specific species with a unique growth pattern: from edge to center
- Forms dense clusters for a full harvest
- Easy to maintain with clear instructions
- Suitable for multiple growth cycles
- Complete set: no need to purchase anything extra
Ingredients and/or composition
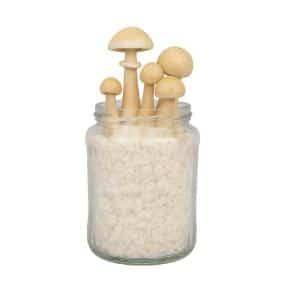
- Breeding container with active nutrient substrate
- Mineral top layer for optimal moisture management
- Airtight grow bag with locking clip
Use
Wash your hands thoroughly with soap and water. Preferably use gloves and possibly a mouth mask to keep the kit clean. Then simply follow the instructions below:
1. Hygiene is essential.
Wash your hands thoroughly with soap. Preferably use gloves and possibly a mouth mask.
2. Preparation.
Spread the mineral topcoat evenly over the surface of the substrate. Use clean gloves or a spatula.
3. Wetting & startup.
Place the container in the culture bag.
Spray the top and inside of the bag generously (do not drench). Close the pocket with a clip. Make sure there is plenty of fresh air in the bag.
4. Daily maintenance.
Open the bag 1-2 times a day for air exchange. Lightly moisten the inside walls of the bag and surface to prevent drying out.
5. Important!
As soon as the first fruit structures become visible – stop spraying.
From then on, only air exchange (2-3x per day) is needed. Direct wetting can interfere with growth.
6. Harvesting.
Structures are ready for harvest after 5-7 days. Carefully unscrew them at the base. Ideally, the moment when dark traces become visible.
7. Next growth cycle.
After harvesting, re-wet lightly from about 10 cm away. A little water at the bottom is acceptable – pour off excess moisture later. The new cycle starts by itself.
Environmental conditions:
Starting phase:
– Temperature: 21-26 °C
– Humidity: 95-100%
Fertilization phase:
– Temperature: 21-26 °C
– Humidity: 90-95%
Contents
- 1x culture tank with substrate (1200cc)
- 1x mineral top layer
- 1x airtight grow bag with clip